Having addressed in a previous post the raw methodology to install the powerful Blog/CMS b2evolution into Red Hat OpenShift platform as a service (PaaS) cloud delivery model, I will simplify the procedure by pulling the b2evolution code from a GitHub repository that I created a couple of days ago.
In the instructions below, I assume that you have created a free account on OpenShift and that you have installed the Red Hat Cloud command line tools: rhc. Please visit OpenShift by Red Hat to open an account if you have not and/or visit Getting Started with OpenShift and select (by clicking) the COMMAND LINE middle column area. Scroll down and you will find as default instructions those for GNU/Linux Red Hat and Fedora. If you have other GNU/Linux distribution or a proprietary operating system, simply follow relevant peripheral links.
I covered the installation of rhc on GNU/Linux Debian in my August 28, 2012, post on this topic: Deploying b2evolution blog/CMS on Red Hat's Cloud OpenShift PaaS. If you are using Debian you may want to reference that post, I will just summarize the steps below.
$ apt-get update
$ apt-get install ruby git rubygems
Once the above prerequisites have been fulfilled, we install the actual rhc OpenShift client tools:
$ gem install rhc
And especially important if you have installed the OpenShift tools but have not used them for a while: update to the latest rhc tools:
$ gem update rhc
That's it! Now, if you have not setup your local/remote environment for your instance on OpenShift, please do so now. You will need as prerequisite(s) your username and password of your OpenShift account that you should have created earlier.
Indeed, by now you should also have created an unique namespace as well but if not the rhc setup routine will prompt you to create one. A unique namespace is required for your apps like the b2evolution application that we will be creating. Thus go ahead and setup your OpenShift environment, if you have not, with the directive:
$ rhc setup
Again, please reference my previous blog for typical output produced by the command above; after successful completion you should be ready to spin up a b2evolution blog app with relative ease.
Creating a b2evolution Application from GitHub and deploying to OpenShift PaaS
We may begin by organizing our project by creating a working directory:
$ mkdir --verbose workspace
$ cd workspace
Once at that filesystem location, you may simply follow the succinct README.md I created at GitHub or bear with me and follow along ![]() .
.
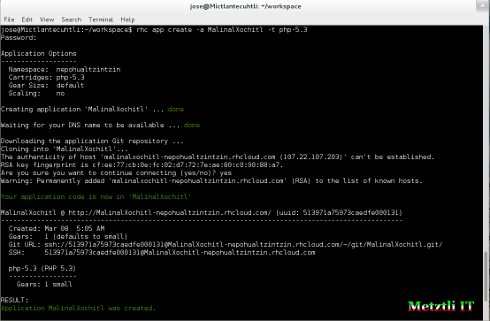
For relevant illustration purposes I named my app at the GitHub repository b2evo. Nevertheless, you may name your b2evolution app any (allowed) name under your namespace. For instance, if I desired to create an b2evolution app named MalinalXochitl1 under my unique (previously created) namespace nepohualtzintzin2, I would input the following directive:
$ rhc app create -a MalinalXochitl -t php-5.3
That is to select a web cartridge and to assign a name to our b2evolution application named MalinalXochitl.
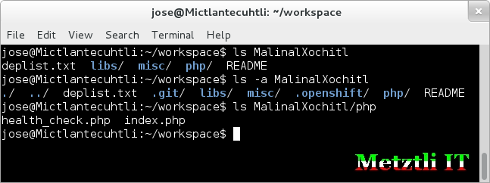
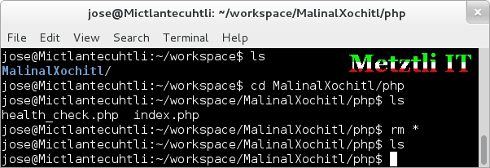
Important: at your current location you will find that the command above has created a directory aptly named MalinalXochitl, as well. Examining for sub-directories, the one that is of interest for our b2evolution app will be: MalinalXochitl/php (see snapshot below:
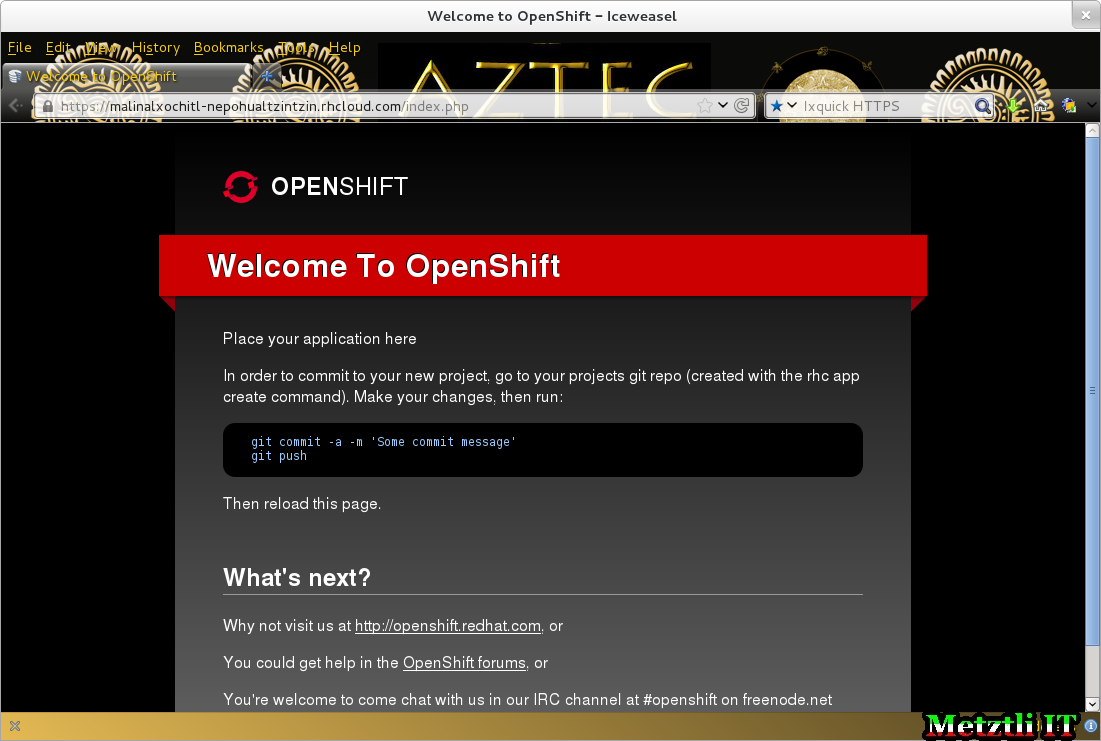
By now we have a cloud instance for our b2evolution application. We can verify that by pointing our browser to
http://b2evoApp-uniqueNameSpace.rhcloud.com
The above, of course, is a general guide for your specific environment but below is a snapshot of OpenShift placeholder for this specific b2evo app named MalinalXochitl under namespace nepohualtzintzin:
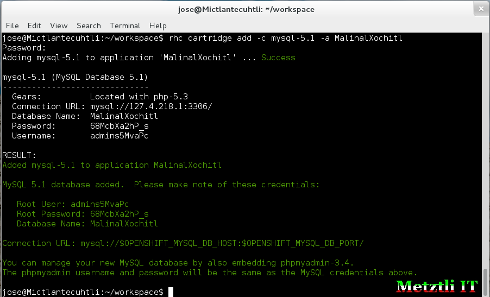
We proceed by adding a MySQL database cartridge to our previously defined b2evolution application:
$ rhc cartridge add -c mysql-5.1 -a MalinalXochitl
Our created database will inherit the name MalinalXochitl... represented by the female archetype in the initial image of this post ![]() .
.
Note: You may want to save the important information output of your screen for reference purposes only because your b2evolution app will magically![]() receive the necessary installation values directly from OpenShift after you pull and push from the b2evo GitHub repository.
receive the necessary installation values directly from OpenShift after you pull and push from the b2evo GitHub repository.
Now we change to our previously rhc -created sub-directory mentioned previously:
$ cd MalinalXochitl/php
make sure to delete (or move to other location) the health_check.php and index.php files existing there. I will delete (rm) them all by especifying the so-called wild-card character:
MalinalXochitl/php$ rm *
I add my remote GitHub repository (all on a single command line as shown subsequently in the snapshot):
$ git remote add upstream -m master git://github.com/Metztli/b2evo-metztli.git
we pull the b2evolution code from my GitHub repository:
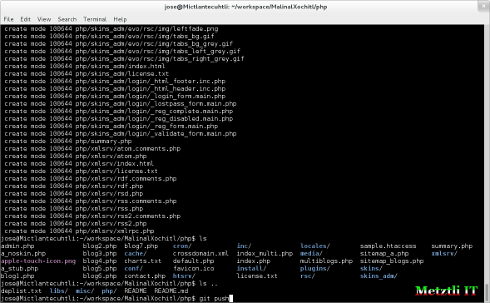
$ git pull -s recursive -X theirs upstream master
We wait about a minute or until repository is completely pulled and then we push (deploy) our git b2evolution application code to our OpenShift cloud instance:
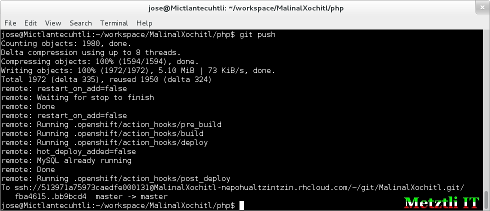
$ git push
As observed in the snapshot that follows, we should not experience any errors:
We proceed to complete our b2evolution installation. And here is where OpenShift shines by exposing internal environment variables to our b2evolution app. The b2evolution app user should not be expected to engage in the error-prone task of filling in the application field values.
We point our browser, again, to our generic guideline:
http://b2evoApp-uniqueNameSpace.rhcloud.com
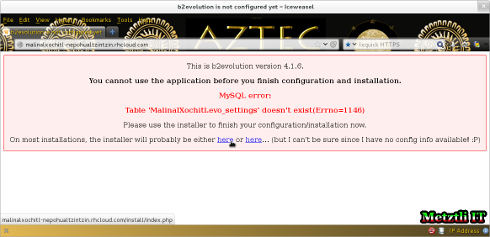
and below is a snapshot of the specific b2evo app that I named MalinalXochitl under my namespace nepohualtzintzin.
Please disregard the superficial 'error':
You cannot use the application before you finish configuration and installation.
MySQL error: Table 'yourAppNameDB[dot]evo_settings' doesn't exist(Errno=1146)
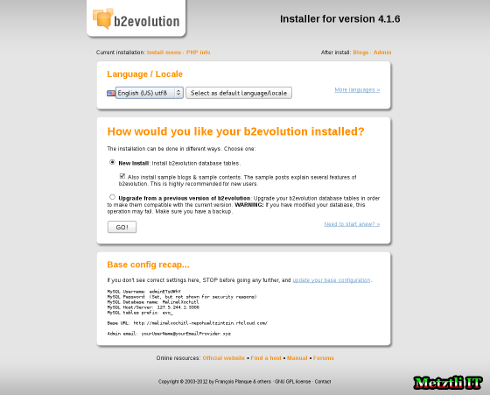
After you select either link 'here' or 'here'(literally ![]() in the textual message, the user advances to the screen where s/he can set her language and/or code; s/he can also select whether this is a new installation or an upgrade. Indeed, if the user is new to b2evolution blogging, s/he may leave the default check-mark to install sample blogs.
in the textual message, the user advances to the screen where s/he can set her language and/or code; s/he can also select whether this is a new installation or an upgrade. Indeed, if the user is new to b2evolution blogging, s/he may leave the default check-mark to install sample blogs.
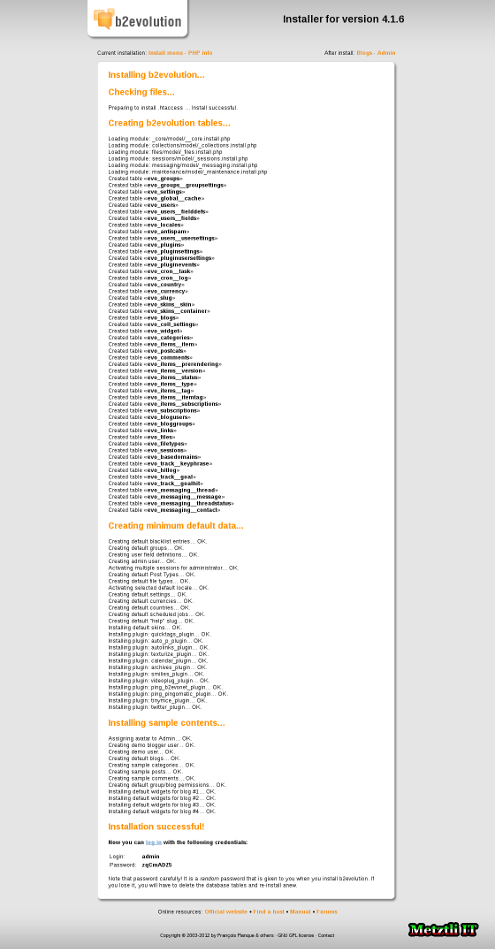
After the user selects the GO! button s/he can expect to see how the b2evolution installation routine long output similar to:
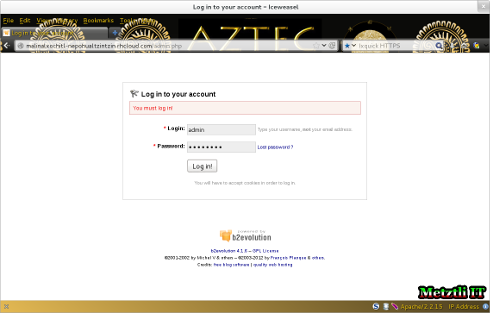
Scroll down towards the end of the long output and please note down and/or copy/save the Login and random Password values. Select the 'log in' link
upon your first entry instance into your b2evolution backoffice --and for security-- change those default/initial Login and Password values by selecting admin from the uppermost right menu.
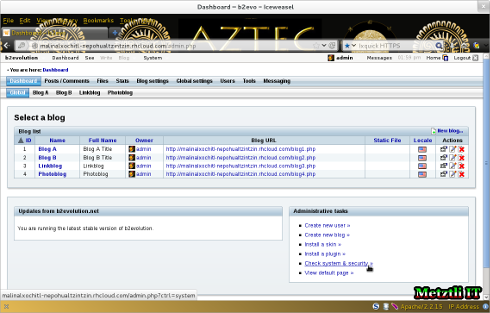
For additional security, and as elaborated in my prior blog Deploying b2evolution blog/CMS on Red Hat's Cloud OpenShift PaaS, we select Check system & security at the bottom right extreme:
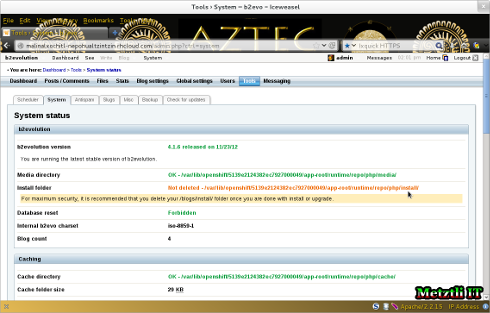
After selecting Check system & security we are taken to the System status tab; we note --highlighted in a pale orange color-- that we are prompted to delete the /blogs/install folder:
We can achieve that by stopping and starting our b2evolution app with the Red Hat Cloud (rhc) command utility from our shell terminal:
$ rhc app stop appName
And start the b2evolution app again:
$ rhc app start appName
On each of those commands above the user will be prompted for her/his password created when s/he opened her/his account at OpenShift.
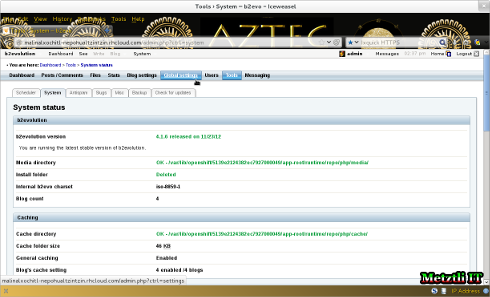
Thus after a successful re-start of our application, we can refresh the System status page --if we executed the rhc stop/start command above without closing the browser or wandering away-- ![]() and we can observe that the alert is gone:
and we can observe that the alert is gone:
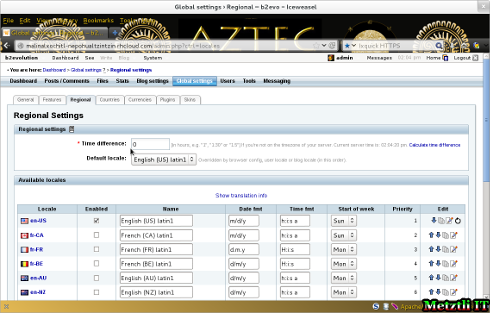
Well, we can proceed and select the Global settings and subsequently select the Regional tab. From there the local time may be set from the GMT default.
However, beware that if your offset is negative, the sample blogs will not show anything; that is because the creation time will be perpetually be advanced into the future by your local time difference. By editing the individual sample blogs you can modify their creation time to your current local time and will solve the issue, though.
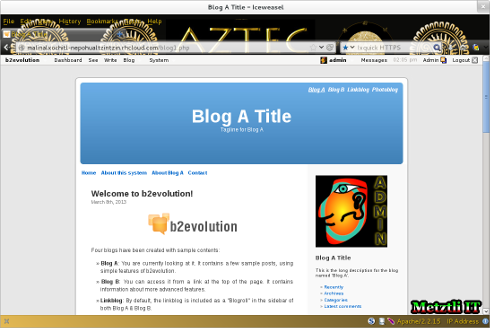
Selecting Home from the uppermost extreme, one of the sample blogs can be admired:
I've shown that the Multi-Blog/CMS capable b2evolution is a secure, enterprise grade, customizable publishing software that can be deployed with relative ease on Red Hat Cloud Openshift platform as a service (PaaS).
Huelmati!3
1MalinalXochitl is Nahuatl, Mexico's real language par excellence, and roughly translates as Twisted-Flower in English and Flor-Torcida in Spanish. She is a great nahualli, loosely reduced as a sorceress and hechicera in European notions.
2nepohualtzintzin means calculating or computing instrument, again, in Nahuatl; thus, it is relevant as my OpenShift domain ![]() .
.
3Enjoy!
P.S. If you agree that being able to capture long output screens in your Firefox browser and/or Debian Iceweasel equivalent please install the Screengrab add-on and kindly support the developer for continued updates.
DISCLAIMER![]() although due diligence has been applied, the above post is intended as a proof of concept for deploying b2evolution to OpenShift Platform as a Service (PaaS).
although due diligence has been applied, the above post is intended as a proof of concept for deploying b2evolution to OpenShift Platform as a Service (PaaS).
Please do not hold me or Metztli Information Technology, or its associates, responsible if the information provided here does not achieve the desired result. The information is provided AS IS and with the hope that it may be useful to the Internet community.
Notwithstanding, There is no implicit or explicit guarantee that the information presented here is accurate. Accordingly, if an user(s) decide to implement the procedure or shell commands described here she, he, or them, do so at her, his, or their own risk. You have been forewarned.
I reserve the right to modify the blog and even to delete it without further notice.


