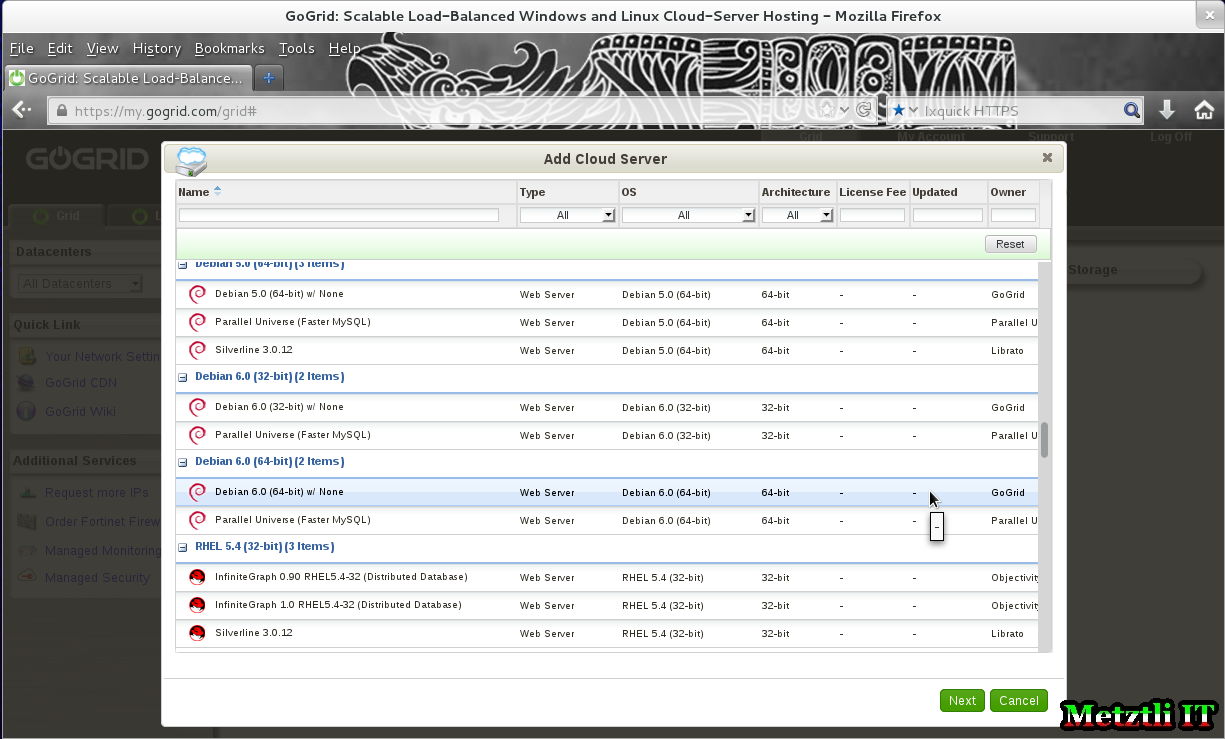
Although setting up a GNU/Linux, Apache, MySQL/MariaDB, and PHP/Perl/Python, (LAMP) stack under Debian is (arguably ;D more straight forward, below I will post the rough equivalent to prepare a CentOS 6.x x86_64 image instance from a hosting provider's virtual machine catalogue to receive a b2evolution Blog/CMS and/or Drupal installation into it. Underlying these virtual machine image catalogues there may be a KVM- VMware- Xen- etc.- hypervisor(s) running on a cloud fabric at a provider's offering of cloud infrastructure as a service (IaaS), such as IBM SmartCloud, Singlehop, Joyent Cloud, GoGrid Infrastructure Cloud, DimensionData Cloud, CloudSigma, etc.

Some providers will accept an image created by the customer to be subsequently uploaded to the cloud hosting provider storage repository and be deployed. Below we will create a local CentOS 6.x x86_64 virtual machine image for the KVM hypervisor in a local Debian environment to illustrate the topic of the title for this post. By adapting the procedure to create a Debian image for OpenStack described at LogiLab, our CentOS image can be uploaded to a private cloud repository and added to a catalogue.
At a bash shell prompt -- as root -- we enter the following directive to provision a local KVM virtual machine that we will name CentOS-6_x-amd64, -r will assign 1024 MB of RAM, -l (location/URL) fetches a bootable kernel/initrd pair to launch the install1, --disk size will be 5 Gb at default pool2, --network default (but please make sure it is active), --nographics will install from the same bash shell instance as indicated by the --extra-args parameters (but you will be given the option of using vnc for a more custom installation).
In the shell directive below, please note the back slashes '\' imply a continuation of the command -- which ideally would be entered in single long command as in the subsequent image illustrating the procedure:
Shell
virt-install --connect qemu:///system \ | |
-n CentOS-6_x-amd64 -r 1024 \ | |
-l http://mirror.stanford.edu/yum/pub/centos/6/os/x86_64/ \ | |
--disk pool=default,bus=virtio,format=qcow2,size=5 \ | |
--network network=default,model=virtio \ | |
--nographics \ | |
--extra-args='console=tty0 console=ttyS0,115200' |
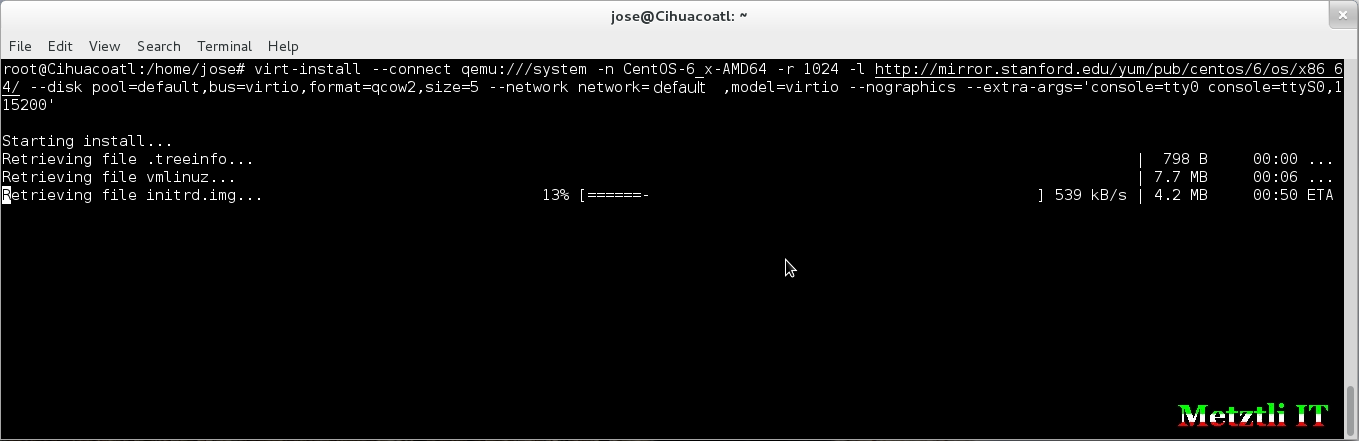
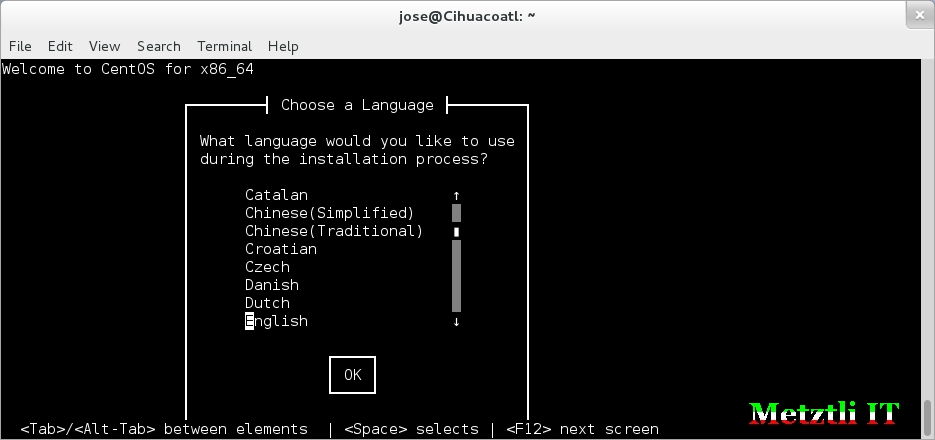
After relevant files have been retrieved (as shown in previous screenshot), in the same shell window we will be greeted by the CentOS banner and asked to select our language.
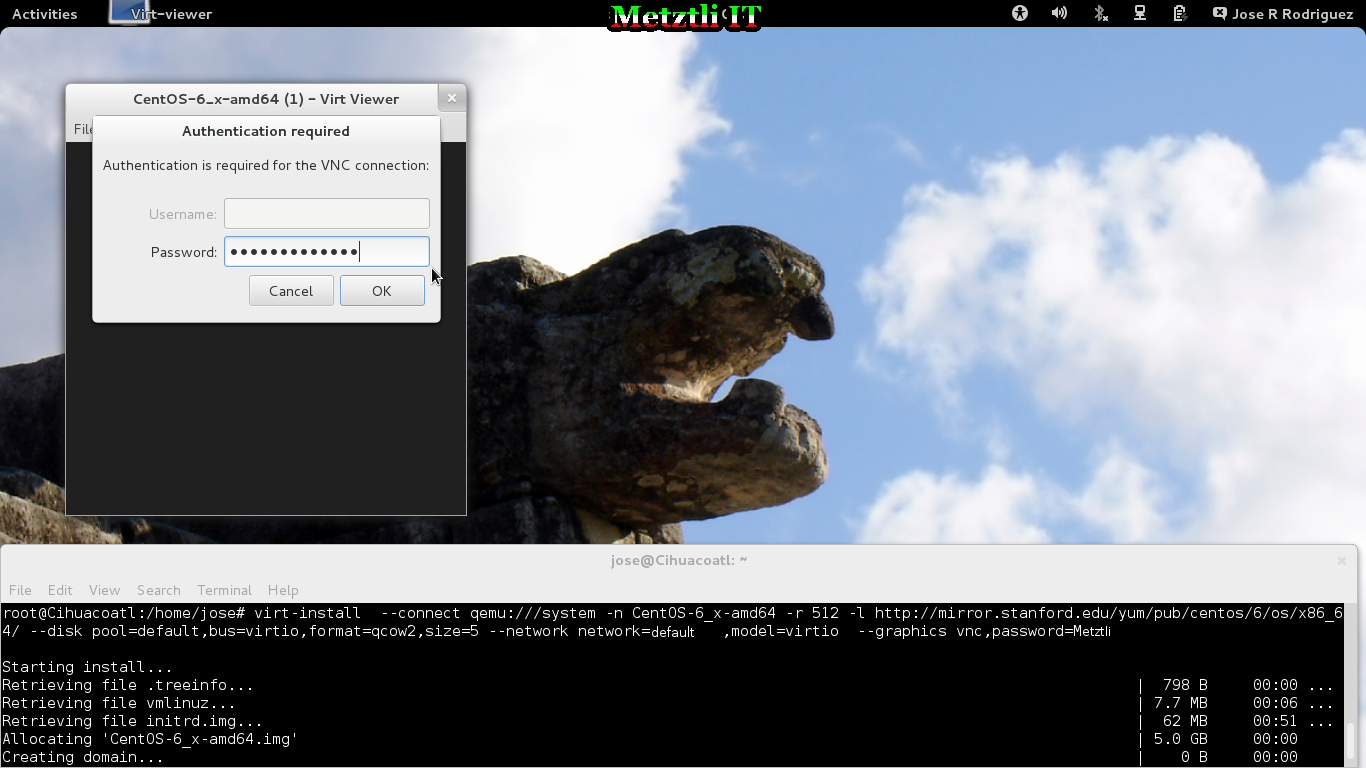
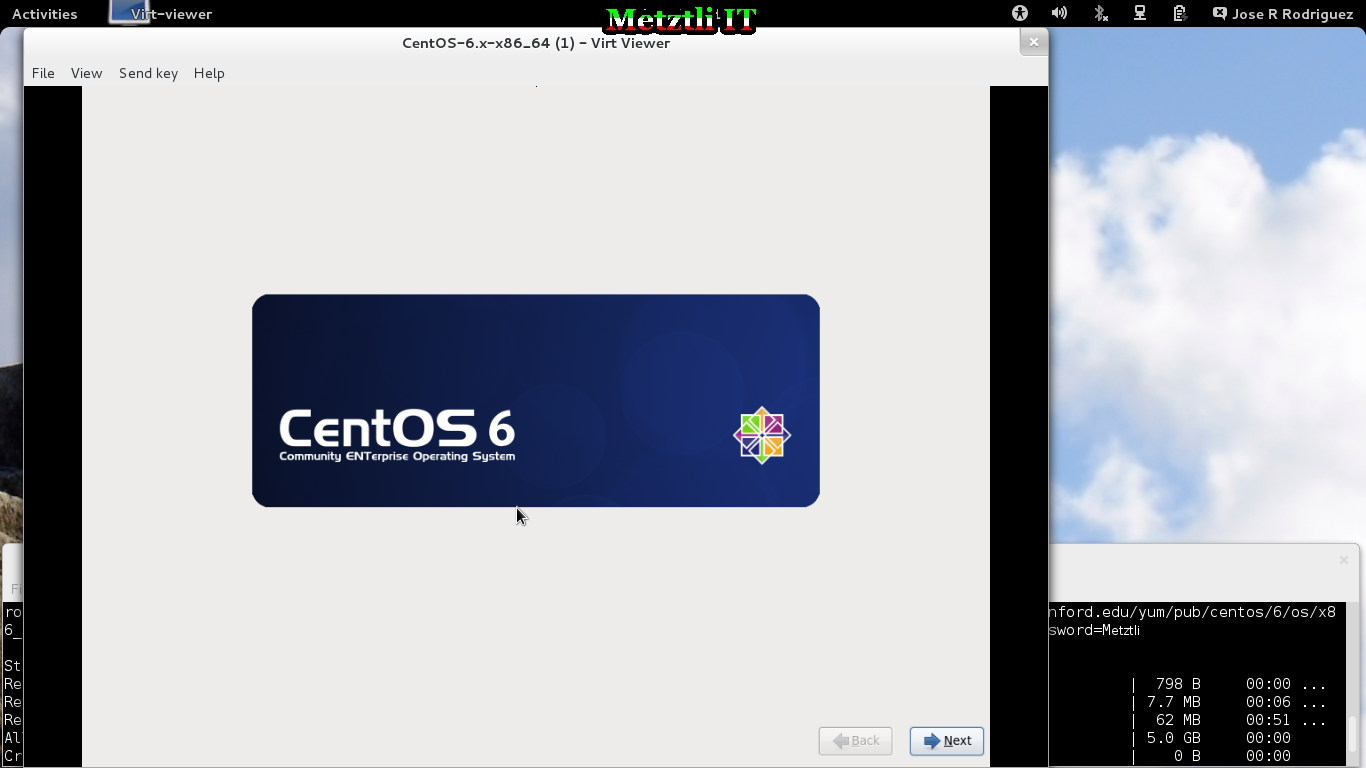
Had we specified: --graphics vnc,password=Metztli at the end of our initial virt-install directive above, we would instead be shown virt-viewer3 (via VNC protocol) prompting us for our password. I specified a simple one at my command, as can be noted, please supply an appropriate one that suits your security purpose if you decide to go that route.
However, since we decided not to use VNC protocol for our CentOS installation, we continue in our terminal which now prompts us to configure TCP/IP:

We will let our --network network=default initial directive to dynamically assign an IP from its local range to our virtual machine in our current situation but as our needs become more complex, we can manually configure settings in future virtual machine creations.
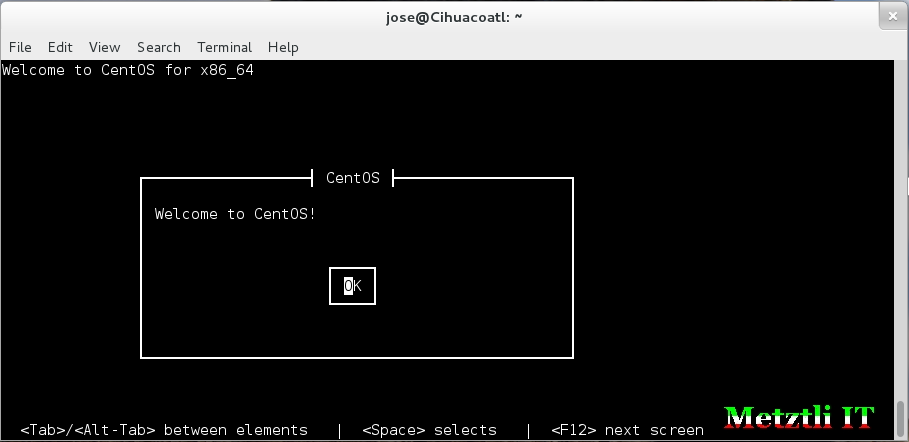
Thus, selecting the square (button) labeled OK, the routine proceeds and prints out that the installation image for our virtual machine is being fetched:

Well, even if we did not specify to use the VNC protocol during our initial directive, we are provided the option to do so just before the CentOS installation commences, so as to have more control of the partitioning and package selection in our virtual machine.
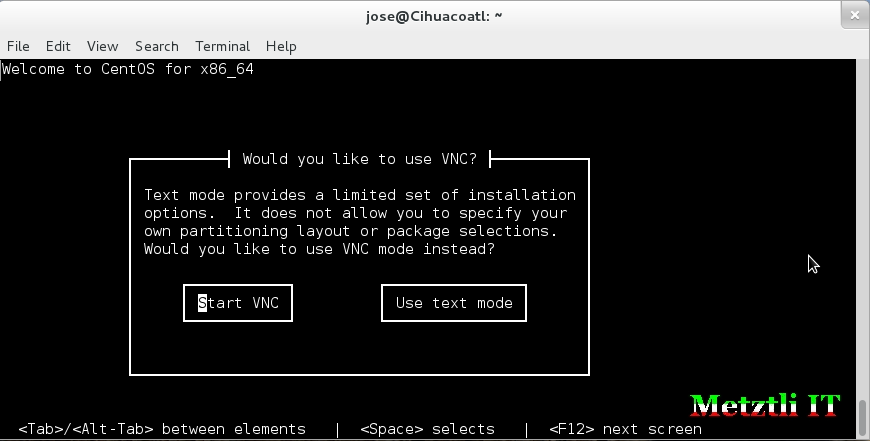
If we accepted option in rectangular (button) labeled Start VNC, then we could expect an image similar as below and we could continue by pressing the lower right Next pretty button.
But we continue with our text based installation and are presented with coarse dialogs :))
After selecting the square labeled OK above, we realize we need to reinitialize our 'new' 5Gb virtual drive that we specified in our initial directive as format=qcow2,size=5:
Warning
Error processing drive:
pci-0000:00:04.0-virtio-pci-virtio1
5120MB
Virtio Block DeviceThis device may need to be reinitialized.
REINITIALIZING WILL CAUSE ALL DATA TO BE LOST!
This action may also be applied to all other disks
needing reinitialization.
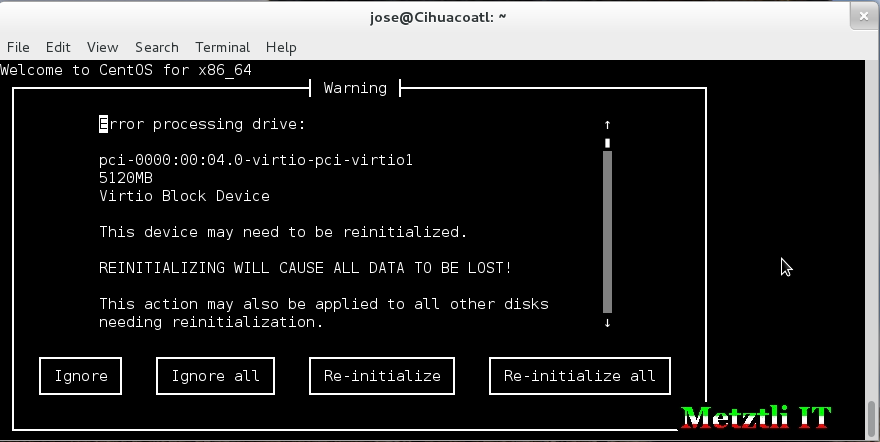
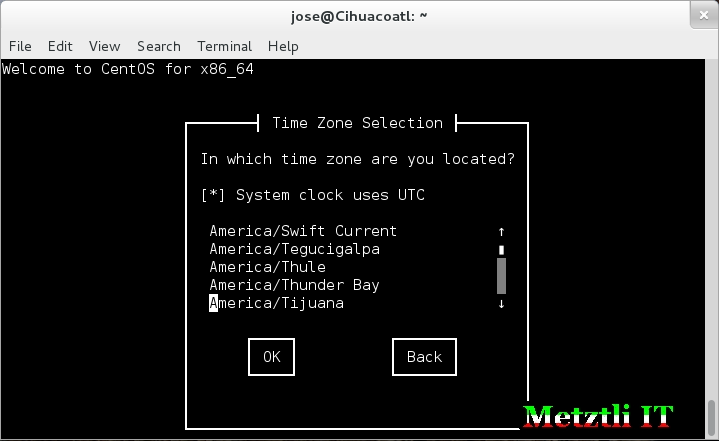
We use the TAB key to select the rectangle labeled Re-initialize (above) and subsequently the time zone selection comes up. If I scroll down my white pointer by pressing repeatedly the arrow key on my keyboard, I select America/Tijuana; once selected with the white pointer, we jump to select the OK square by pressing the TAB key. Please select your own time zone.
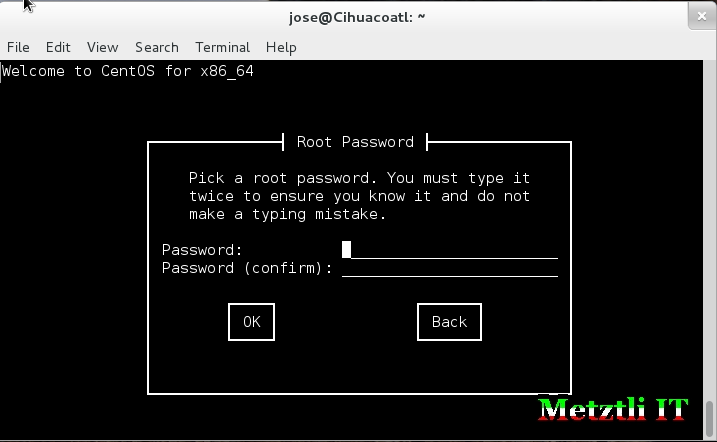
Subsequent screen prompts us to enter a root password & confirm it:
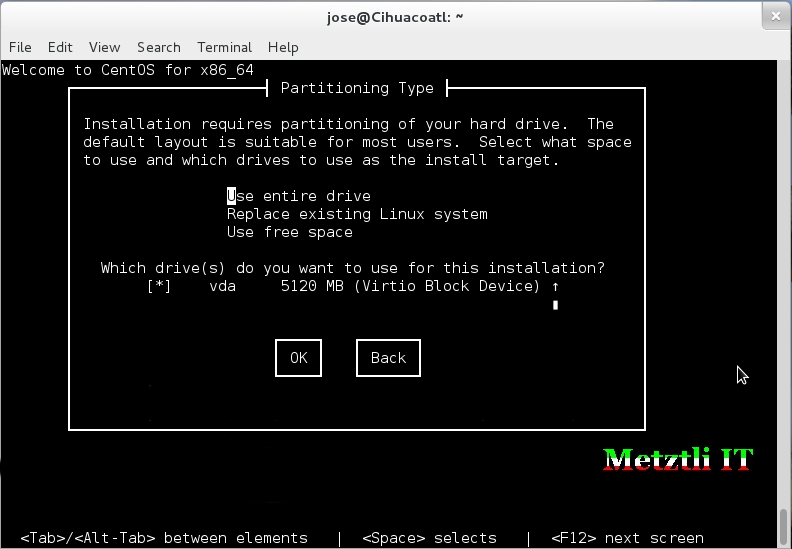
Since we are installing in a text-based environment, we don't have much choice in the virtual disk partitioning scheme:
Advancing we select write changes to disk rectangle (button):

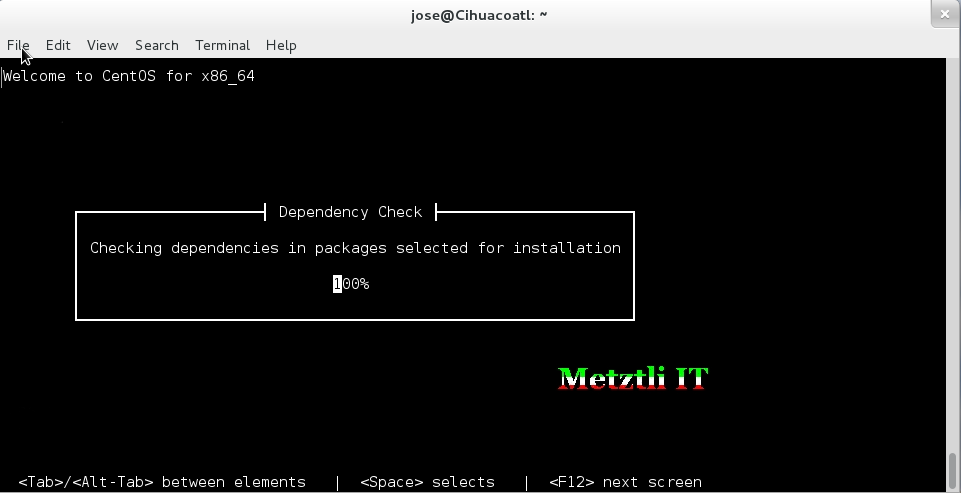
Dependency check for the (minimum) default packages on our CentOS text-mode installation:
And the CentOS package installation begins, advancing gradually:
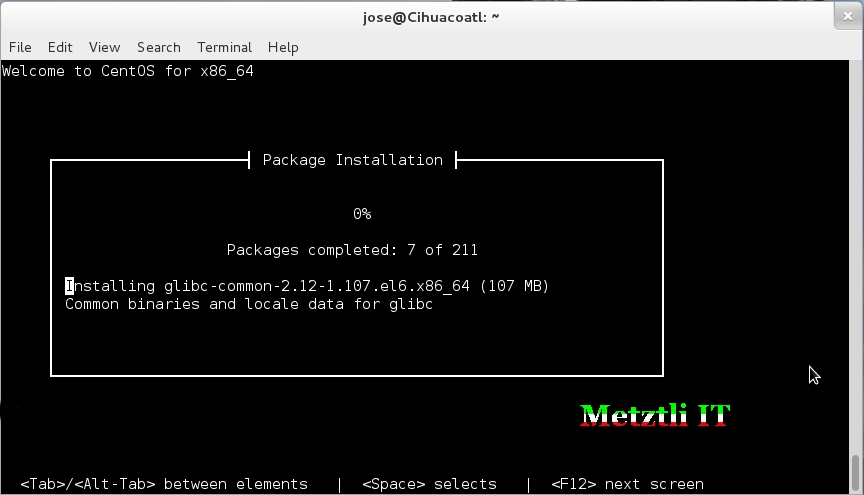
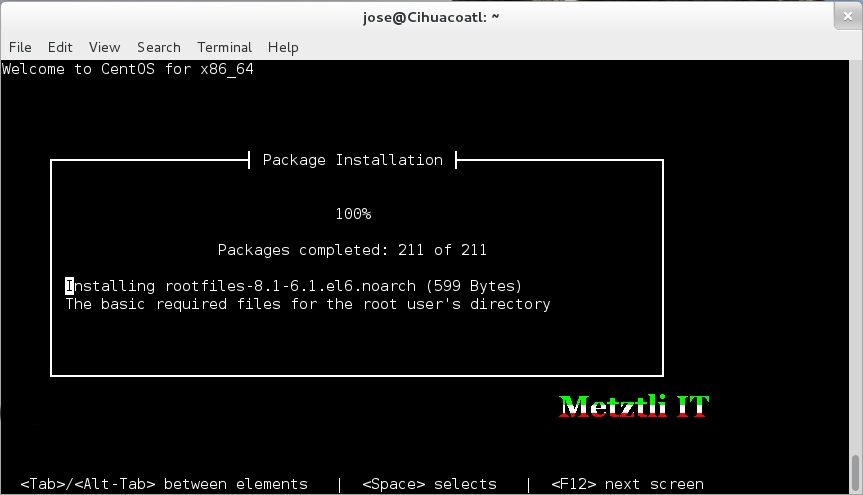
After a short while, the 211 packages of CentOS minimum installation completes:
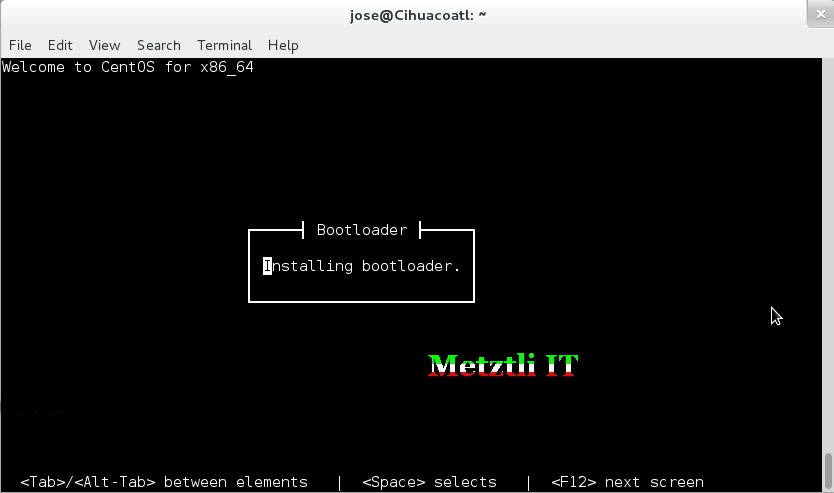
GRUB, the boot loader, installs:
And final installation routine output to our shell screen notifies that CentOS install is complete:
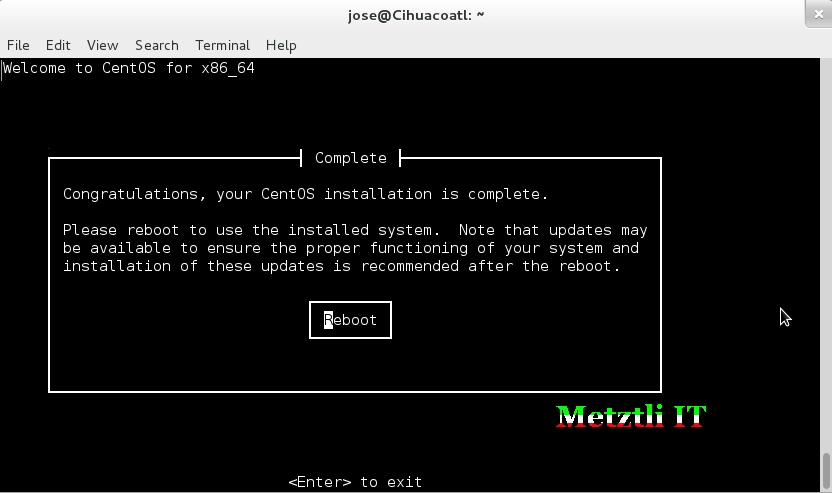
We reboot and in our bash shell we see our GNU/Linux CentOS GRUB screen. Apropos, that is what goes on behind the scenes when your virtual machine instance starts in a hosting provider's cloud fabric.
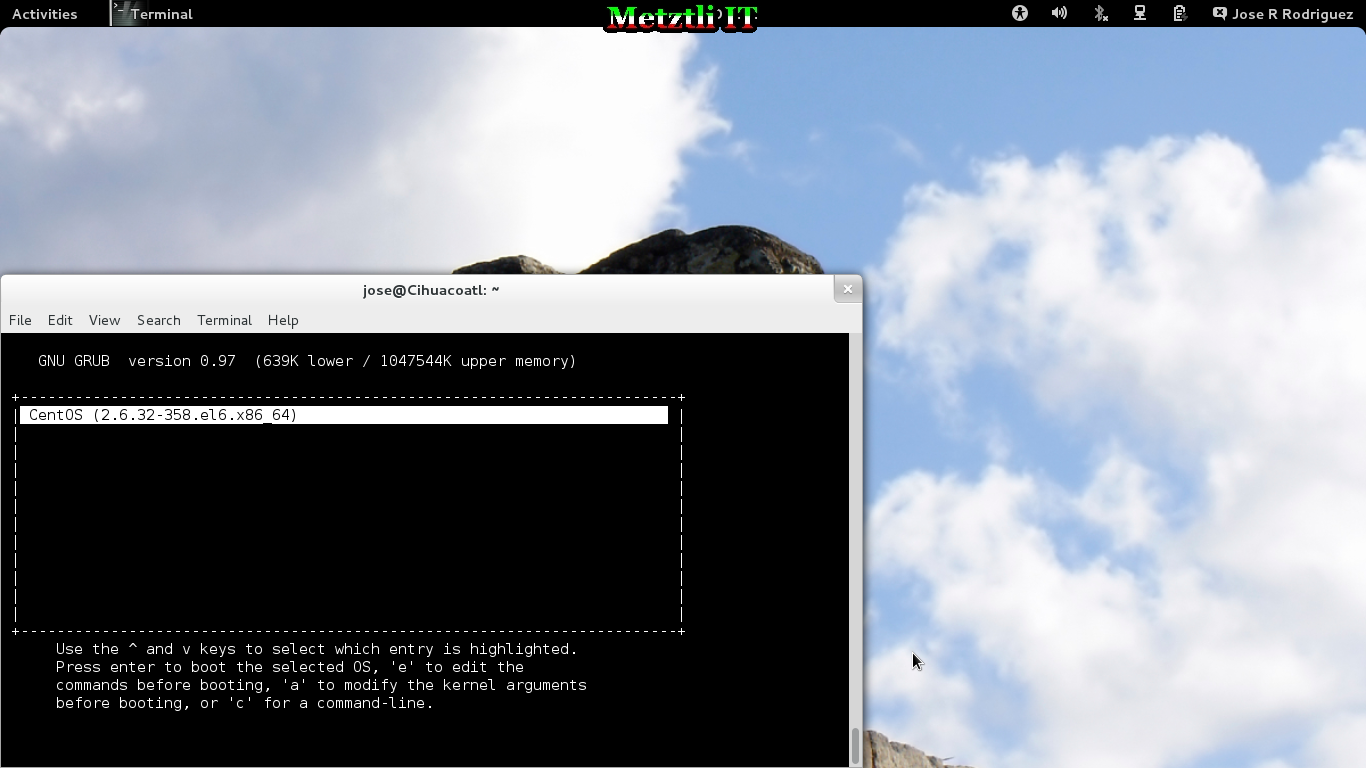
If we pressed TAB when GRUB appeared on screen (to admire it :P), after pressing ENTER we marvel ;D at our CentOS very first boot copious output to our bash shell:

Please note in screen shot above that a text-mode installation does not allow us to even have a custom hostname for our virtual machine. As a cloud user and customer, one may expect to find similar raw state minimum virtual machine instances just waiting for customization to our needs.
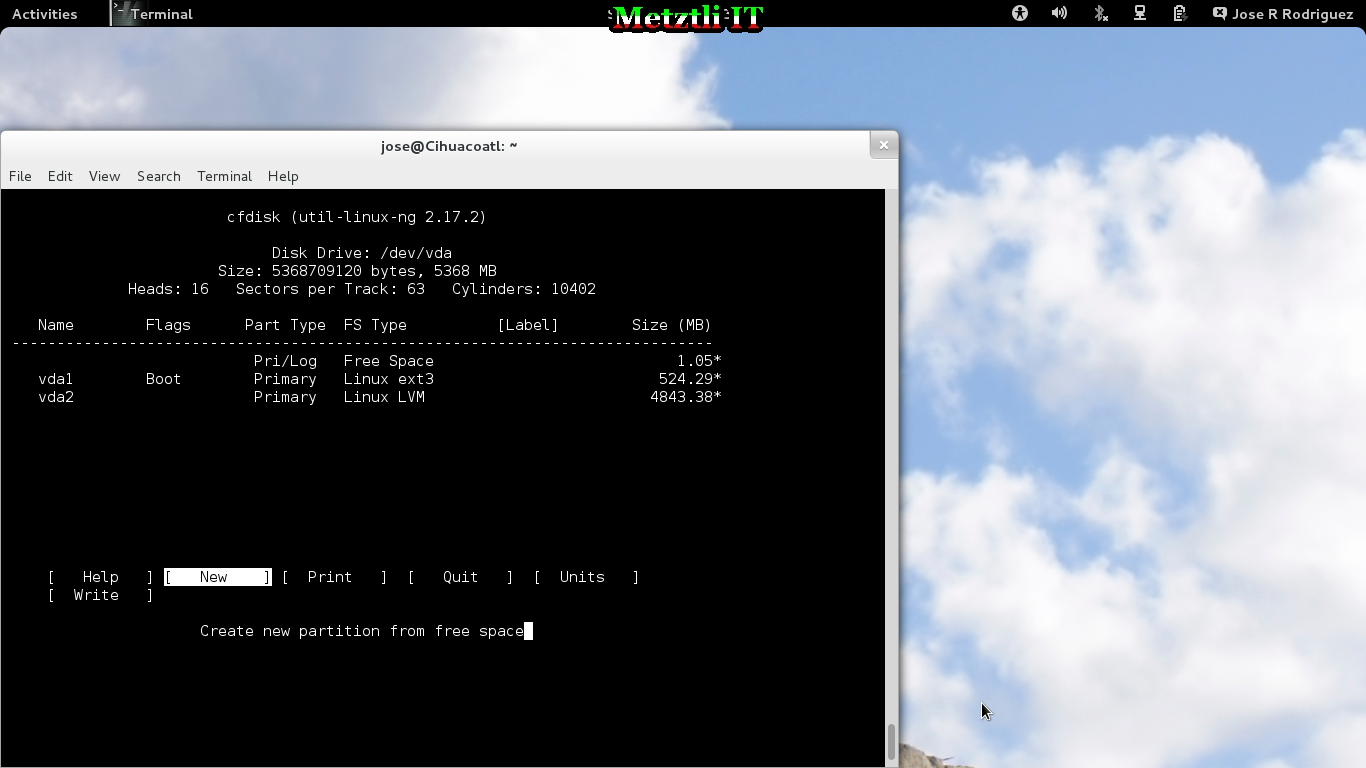
After logging in as root and executing:
Shell
cfdisk /dev/vda |
we take note of the default partitioning scheme that our limited text-mode CentOS installation routine operated on our 5Gb virtual hard drive:
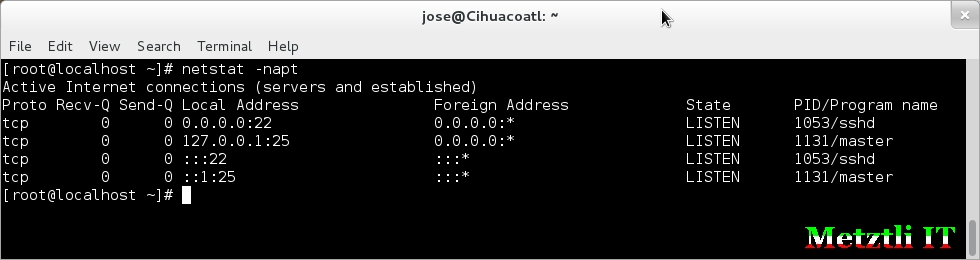
After quitting fdisk, a subsequent
Shell
netstat -natp |
shows that we have scant services running -- just about the SSH server daemon :>
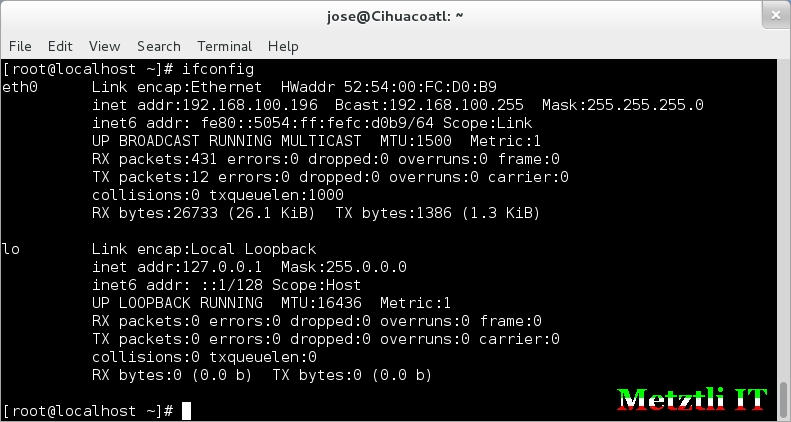
To find out which IP from our local range was dynamically assigned to our CentOS KVM virtual machine:
Shell
ifconfig |
Having described roughly the procedure that goes into creating a virtual machine managed by a KVM hypervisor executing on a cloud fabric like OpenStack, in the next section we continue to prepare our virtual machine for the topic of the title.
What follows is what typically an user might expect to do after s/he provisions a CentOS virtual machine instance at a cloud provider.
Setting Up a GNU/LAMP Stack in an CentOS 6.x 64-bit Cloud Instance
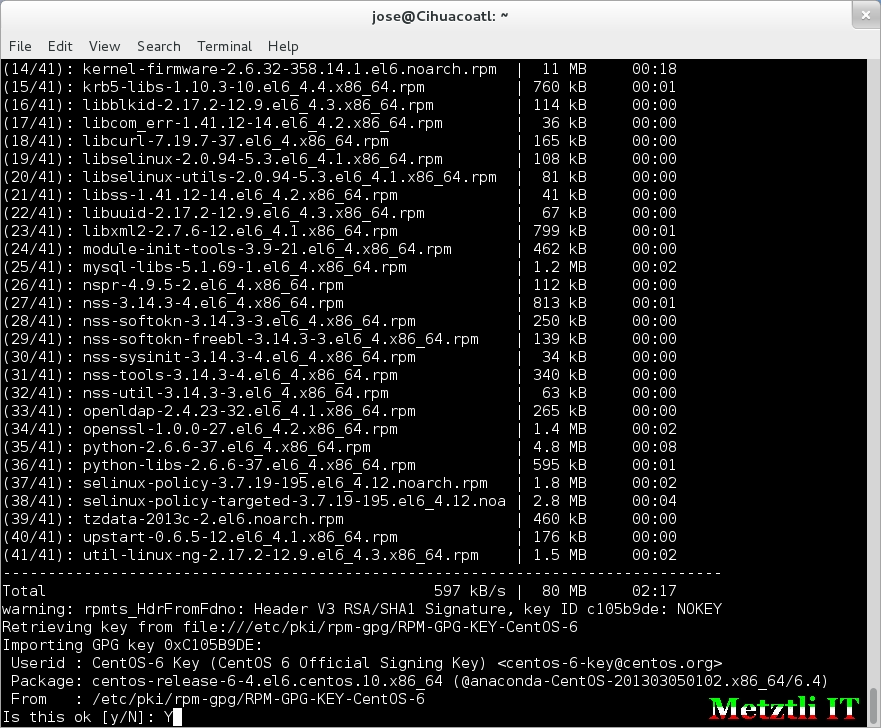
First thing we do is bring up to date our CentOS packages, thus wielding root privilege we do:
Shell
yum update |
We read the warning that will eventually appear and type in Y to agree:
You may want to install the vi clone, vim text editor:
Shell
yum install vim |
Protecting Port 22 From Unauthorized SSH Access
If we have our virtual machine server port 22 open, is of extreme importance to block brute force attacks that will occur from every- and anywhere once our IP is live in the Internet. I can not overemphasize it: before you invest additional setup work in your server, you should install fail2ban, or equivalent, to protect from unauthorized SSH access via your port 22.
At the creation of this post, the fail2ban version is 0.8.10, please check the previously referenced link and copy (the link). Install wget:
Shell
yum install wget |
and download the latest stable fail2ban (remember at time of this post is 0.8.10):
Shell
wget https://codeload.github.com/fail2ban/fail2ban/tar.gz/0.8.10 |
You will end with a file named 0.8.10 (or whatever the latest stable version you selected) in your current directory.
Extract the contents of the file:
Shell
tar -xvPf 0.8.10 |
Change into the newly created fail2ban directory:
Shell
cd fail2ban-0.8.10 |
As per the README.md file:
Shell
./setup.py build |
and follow with:
Shell
./setup.py install |
The above command will set up fail2ban under /etc, /usr/bin, and other directories. Proceed to copy fail2ban local configuration file:
Shell
cp -iv /etc/fail2ban/jail.conf /etc/fail2ban/jail.local |
Our local modifications will be made to /etc/fail2ban/jail.local; thus, we open the file in a text editor:
Shell
vim /etc/fail2ban/jail.local |
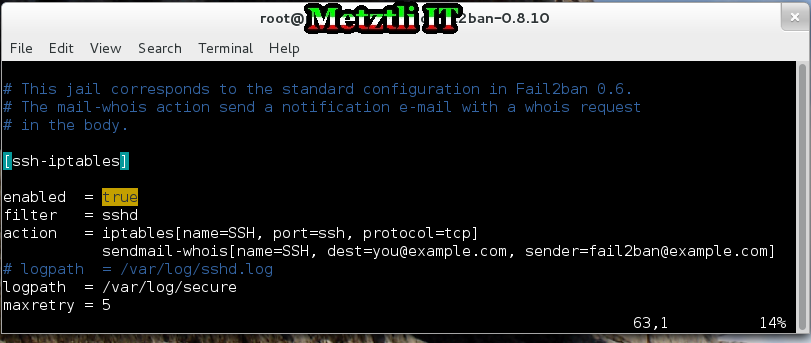
At approximately line 63, we locate enrty [ssh-iptables] and modify its settings under it:
Set enabled to true (original commented out entry was false):
# enabled = false
enabled = true
...
And correct the logpath to reflect CentOS log file where SSH logins, among others, are logged:
# logpath = /var/log/sshd.log
logpath = /var/log/secure
The relevant section of above two(2) modifications are shown below:
Now start fail2ban:
Shell
/usr/bin/fail2ban-client start |
there should be no errors. Now test fail2ban server response:
Shell
/usr/bin/fail2ban-client ping |
fail2ban server reply should be: pong
But generally check fail2ban status
Shell
/usr/bin/fail2ban-client status |
output should be name and number of jails (you only have one in this instance), similar to:
Status
|- Number of jail: 1
`- Jail list: ssh-iptables
Assuming that your root password includes lower/upper alphanumeric and special characters (like !, #, *, etc) the above is the minimum you should do to protect your subsequent work from unauthorized access while you are investing your time and money setting up your CentOS server. Please become familiar with fail2ban documentation to further customize your security.
Please note that we could have added the Fedora EPEL repository by locating the file epel-release-6-8.noarch.rpm and installing:
Shell
rpm -Uvh http://mirrors.yocum.org/fedora/epel/6/x86_64/epel-release-6-8.noarch.rpm |
And subsequently following the above by installing fail2ban with yum:
Shell
yum install fail2ban |
Your choice, but please note Red Hat and Fedora stand on discriminating certain human beings by random association.4.
Note: If when examining your file /var/log/secure, you find errors of similar form as:
PAM unable to dlopen (/lib64/security/pam_fprintd.so)
those can be fixed by the shell directive:
Shell
yum install fprintd-pam |
...and we continue setting up our virtual machine CentOS server
Before we reboot our virtual machine server we may decide to customize our hostname. If you have not installed the cloned text editor, vim, we may use vi as below:
Shell
vi /etc/sysconfig/network |
We will find similar to:
NETWORKING=yes
HOSTNAME=localhost.localdomain
Evidently we edit the HOSTNAME directive to reflect our desired hostname for our virtual machine server. For illustrative purposes I've selected the hostname mixcoatl which in Mexico's language par excellence, Nahuatl, means cloud serpent. Of course, you will have your own :) but this are my modifications:
NETWORKING=yes
HOSTNAME=mixcoatl.localdomain
For effective name resolution in an Internet host, we should also update the /etc/hosts file to reflect the prior hostname modification.
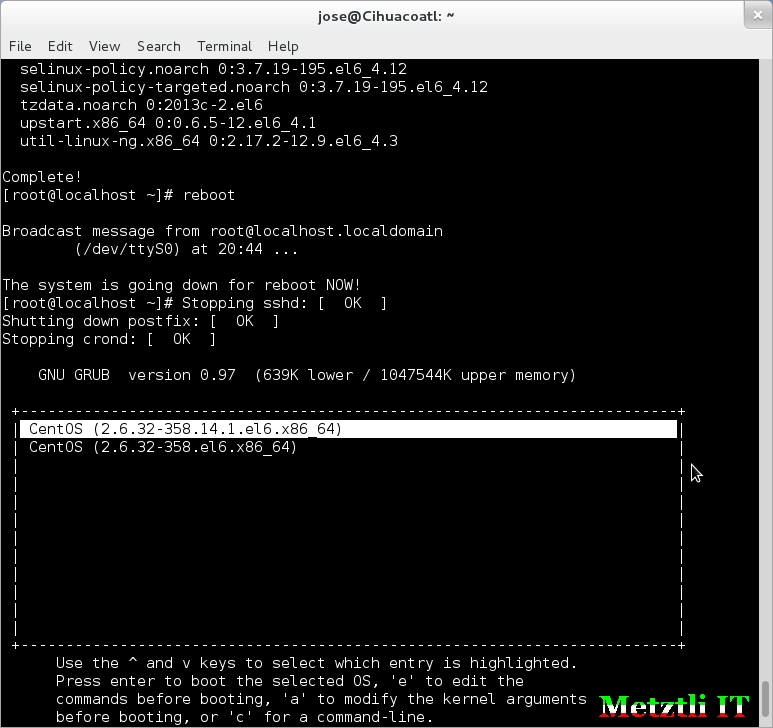
We save the file and reboot our virtual machine server.
Well, we realize GRUB defaults to newer kernel entry but a customer of a cloud provider will not normally see that unless the provider enables VNC, like CloudSigma, for instance.
We proceed to install our database. Instead of MySQL, we will be installing MariaDB
To add our MariaDB repository, we follow the instructions at setting up MariaDB repositories for our CentOS distribution and make sure to select the appropriate 32- or 64-bit architecture. In our specific case we select the latter and create/open a MariaDB.repo file with our text editor:
Shell
vim /etc/yum.repos.d/MariaDB.repo |
And paste similar to the following data that we obtained by our relevant selection process at setting up MariaDB repositories:
Code
# MariaDB 5.5 CentOS repository list - [date] | |
# http://mariadb.org/mariadb/repositories/ | |
[mariadb] | |
name = MariaDB | |
baseurl = http://yum.mariadb.org/5.5/centos6-amd64 | |
gpgkey=https://yum.mariadb.org/RPM-GPG-KEY-MariaDB | |
gpgcheck=1 |
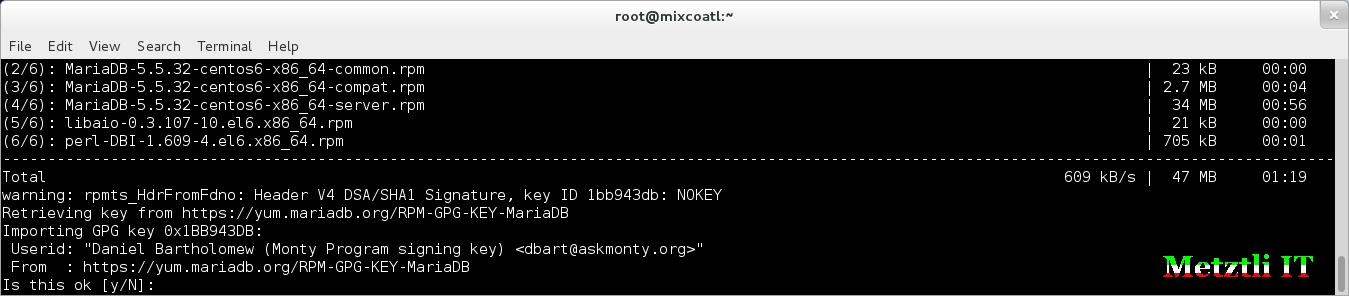
We save our file and proceed to direct, wielding root privilege, CentOS to install MariaDB:
Shell
yum install MariaDB-server MariaDB-client |
Since this is your initial MariaDB installation: "YUM will prompt you to install GPG Signing key after downloading the packages (but before installing them)"
To secure your MariaDB installation in your server, it is recommended to execute the command below (it is done as root and the path is only included for convenience):
Shell
/usr/bin/mysql_secure_installation |
Note: if your shell outputs a complaint that it can not find the command, you may want to reload your bash environment (note initial dot):
Shell
. ~/.bashrc |
Or you may have overlooked to yum install MariaDB-client as directed in one of the previous commands.
Installing Apache web server (HTTPD) and PHP
If we install PHP as:
Shell
yum install php php-gd php-mysql |
it will fetch and install httpd (Apache), as well. Otherwise, install it as:
Shell
yum install httpd |
If you have added Fedora's EPEL repository, harden your Apache (HTTPD) server by installing the the following modules:
Shell
yum install mod_security mod_evasive |
Install ImageMagick, as Drupal needs it:
Shell
yum install ImageMagick |
As opposed to Debian, where a simple apt-get install php5-imagick is enough, we need to add the remi repository. Specifically, we locate the section in above link that is labeled: Maintained Enterprise Linux (RHEL / CentOS / Other clones) and fetch the file relevant for our CentOS 6.x:
Please note: adding to your CentOS the remi-repository will yield the following
WARNING : These php-* RPM are not official Fedora / Red Hat build and
overrides the official ones. Don't file bugs on Fedora Project nor Red Hat.
If you are comfortable with the above, please proceed:
Shell
rpm -Uvh http://rpms.famillecollet.com/enterprise/remi-release-6.rpm |
If you do not have added Fedora's EPEL repository, the above command will output similar to:
warning: /var/tmp/rpm-tmp.3lmRfl: Header V3 DSA/SHA1 Signature, key ID 00f97f56: NOKEY
error: Failed dependencies:
epel-release >= 6 is needed by remi-release-6-2.el6.remi.noarch
If the above error, it may be fixed by adding the repository (please note that version is time dependent; that is, at this particular moment it is epel-release-6-8.noarch.rpm but will change in the future):
Shell
rpm -Uvh http://mirrors.yocum.org/fedora/epel/6/x86_64/epel-release-6-8.noarch.rpm |
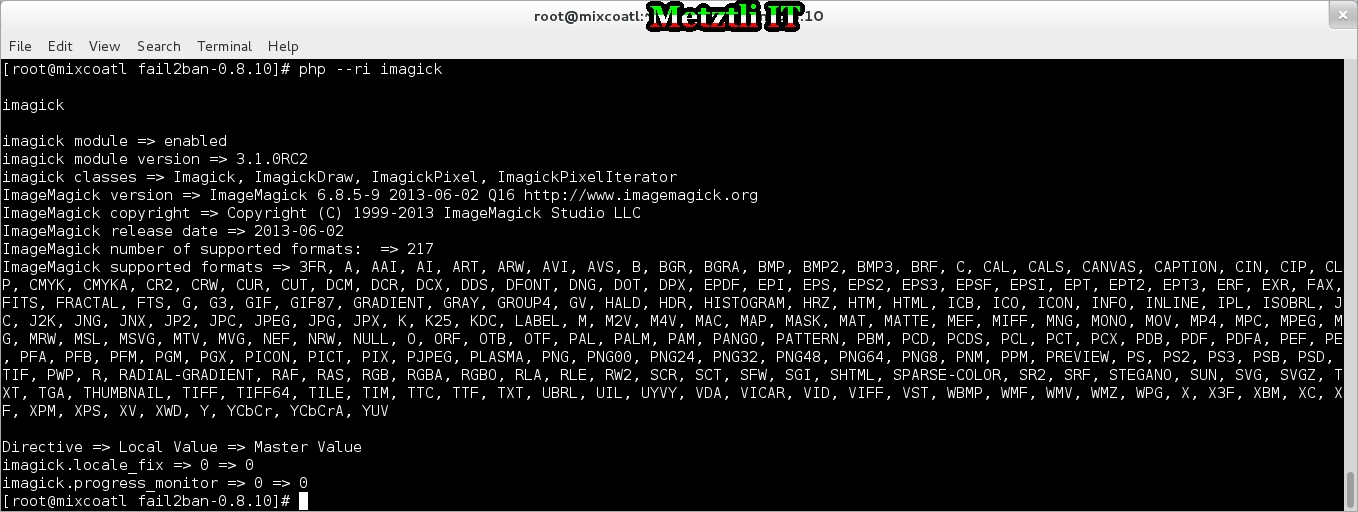
Test for PHP imagick:
Shell
php --ri imagick |
Your shell output should be similar to snapshot below:
Finish your PHP installation with:
Shell
yum install php-mbstring --enablerepo=remi |
We are ready to start MariaDB and Apache in our CentOS 6.x virtual machine server:
Shell
/etc/init.d/mysql start | |
/etc/init.d/httpd start |
If afterward we do:
Shell
netstat -natp |
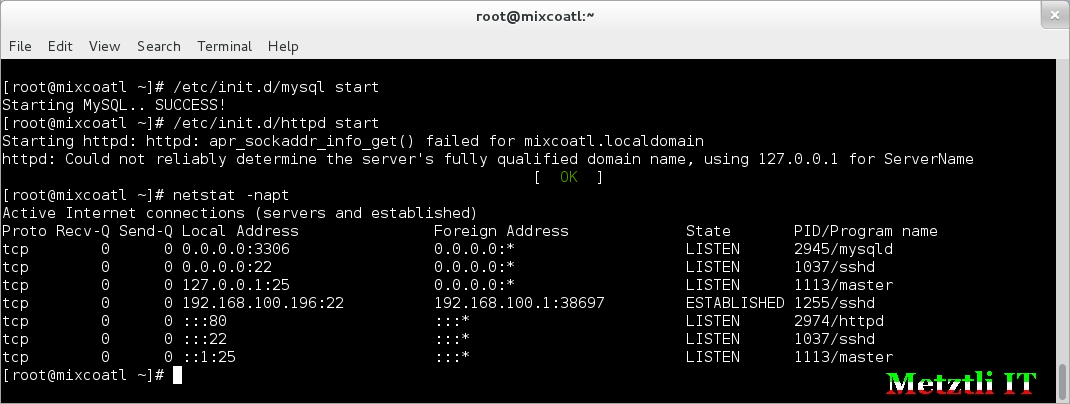
We can see that MariaDB (mysql) started successfully and Apache (httpd) did as well, with the exception that we have not configured our fully qualified domain name in its /etc/httpd/conf/httpd.conf file. Also note that although the output above shows port 80 listed for the Apache web server, it may not be open. If we tried to view the default Apache web server index page with our GNOME Epiphany web browser:
Shell
epiphany http://192.168.100.196 |
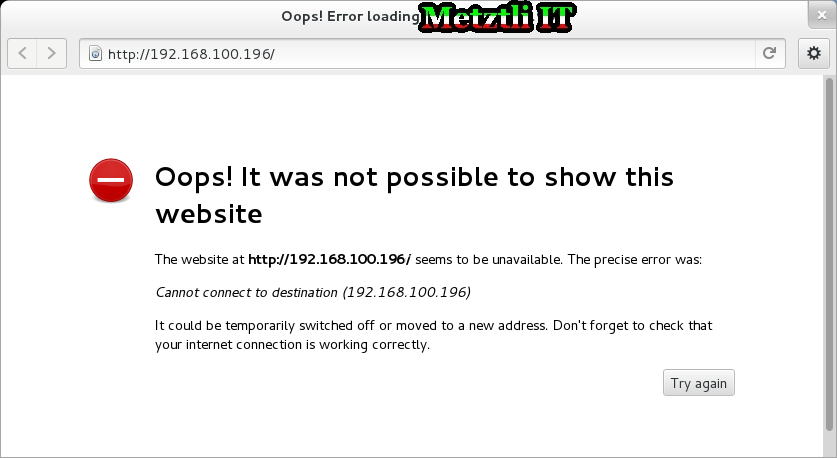
If we get the above or similar error, then we open iptables with our text editor:
Shell
vim -R /etc/sysconfig/iptables |
and add the following directive:
-A INPUT -m state --state NEW -m tcp -p tcp --dport 80 -j ACCEPT
below where the port 22 directive is defined:
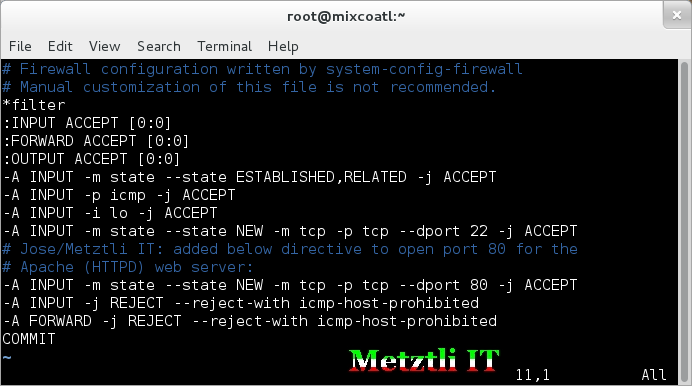
We save our modifications and restart iptables:
Shell
service iptables restart |
and we should be able to see the default Apache web server index page: our port 80 is open to the public.
Note that we could have also tested if the port 80 (or 22) was open by using the tcping utility as follows:
Shell
tcping 192.168.100.196 80 |
sample output:
192.168.100.190 port 80 open
and output would tell us the state of the target port. It is quite easy to build if you are not on Debian.
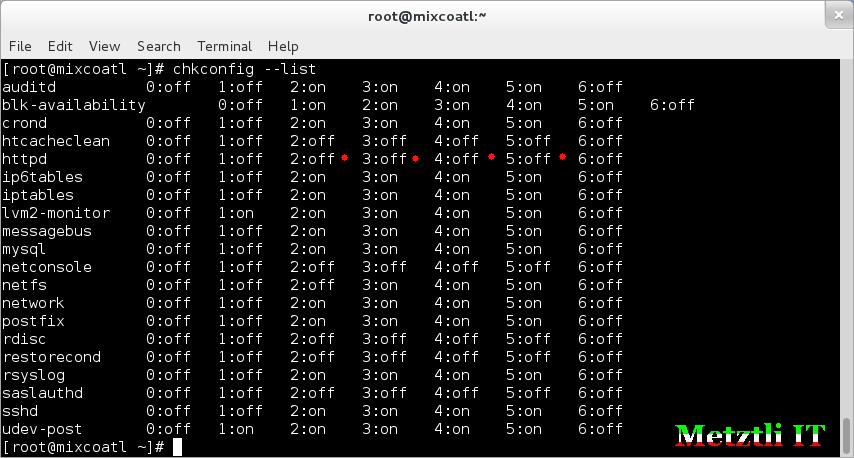
Now you want to make sure that your MariaDB and Apache web server will start after a reboot. Executing:
Shell
chkconfig --list |
we can see that MariaDB (mysql) will start when your CentOS 6.x virtual machine server starts, but Apache (httpd) will not -- as noted by the red dots next to run levels in the snapshot below:
To make Apache (httpd) web server start when our CentOS 6.x virtual machine server starts, wielding root privilege, we execute at our shell prompt:
Shell
chkconfig httpd on |
That will take care of it.
Public cloud providers whose cloud fabric is based on open technologies that support open source hypervisors like KVM, Xen Project, OpenVZ containers, etc. offer a relatively easy ramp to get on a providers' public cloud; closed technologies like VMware make it somewhat more complex even to just set up a basic CentOS 6.x based web server environment.
If you are a DimensionData Cloud customer, for instance, whose public cloud is based on VMware and are struggling to even set up a single CentOS virtual machine web server, please refer to their helpful article: How to Manage NAT mappings on an Existing Network Using the Administrative UI to get up to speed.
References:
Installing MariaDB with yum
Setting / Changing hostname of a CentOS host
Getting a More Recent ImageMagick / PHP imagick Installed on CentOS 5.x and 6.x
How To Open Port 80 on Iptables on Centos
How to Start and Stop Services in RHEL/CentOS 5/6
1Note that the mirror at Stanford University is close to my physical location. Please adjust the mirror for your particular physical location: Mirrors to Download CentOS images: select closest one to boot-strap your virtual machine(s)
2default pool is at /var/lib/libvirt/images.
3virt-viewer is a minimal tool for displaying the graphical console of a virtual machine.
4"If you are from a nation that is embargoed from the US embargoed nations..."
DISCLAIMER:P although due diligence has been applied, the above post is intended as a proof of concept for deploying a CentOS 6.x virtual machine web server in a public cloud.
Please do not hold me or Metztli Information Technology, or its associates, responsible if the information provided here does not achieve the desired result. The information is provided AS IS and with the hope that it may be useful to the Internet community as the cloud paradigm evolves.
Notwithstanding, There is no implicit or explicit guarantee that the information presented here is accurate. Accordingly, if an user(s) decide to implement the procedure or shell commands described here she, he, or them, do so at her, his, or their own risk. You have been forewarned.
I reserve the right to modify the blog and even to delete it without further notice.